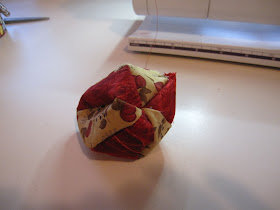
I first began with a pretty apple.
 Cut in half;
 And then cut into thirds.
 Next I took one section and cutout the apple leaving just the skin.
 Now I needed some thin cardboard and settled on this cracker box.
 I then gently laid the apple skin on the cardboard;
 And marked an outline.
 Now I took a ruler and marked 1/8 of an inch on the outside of my pattern for the seam allowance.
 Now I have a perfect template.
 Using my template I placed it on the wrong size of my fabric, marked it with a pencil and cutout my sections.
 My apple took 6-sections in all.


How neat! Using a REAL apple for a pattern, rather than a purchased one. You're so creative!
ReplyDelete