Monday, January 13, 2014

Quilt Club 2013

 In 2012 I joined a quilt club and made an amazing quilt; with colors I loved. Because the quilt club was so fun I joined again in 2013. After the first month I came very near to quitting the quilt club because I didn't like the fabric colors. But I stayed so I could continue learning from all the talented ladies who are a part of the club.
It was not fun sewing up all the crazy colors each month. 
Who in their right mind likes purple, orange and green? 
 Plus, most of the fabric prints were just as "crazy" as the colors. 
(The blue you see in the the photos is actually purple)
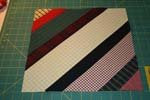
So I devised a plan to help take the focus off all the crazy colors; I made some "normal" looking applique blocks to coordinate with the regular blocks.
Earlier this month I started quilting my blocks.
I'm using the Quilt as You Go method.
By quilting each individual block I am able to add quilting details that are harder to do when working on a larger quilt.
It's been so easy to maneuver the 12-inch blocks.
I really love how my blocks are turning out; the texture is amazing.
For the back of each block I'm using a purple fabric with pink flowers.
I'm not sure how long it will take me to finish my 2013 quilt. 
Hopefully not long as I'm anxious to see how the completed quilt will look.

Saturday, January 4, 2014

Reconstructing a Fitted Sheet

Soon after buying Elizabeth's canopy bed I started searching for a nice used mattress set. It wasn't until after Christmas before we found one. The mattress is a pillow top and very big compared to a standard mattress; and my first thought was sheets. How was I going to find sheets to fit such a big mattress?
 I took a queen fitted sheet and placed it on the mattress. It of course was too big but my thinking was to reconstruct this sheet to fit the mattress.
My first step was to pin the corners until the sheet felt snug.
 
Then I trimmed the area with elastic so the sheet would lay flat.
Each corner needed to be stitched about 3 1/2 inches from the corner seam; this was then marked with a pencil. 
Once each corner was stitched, and before I trimmed the excess corner fabric, it was time to try the sheet on the mattress.
And, it was too snug!
So glad I waited to trim the corners :o)
It was simple to restitch the corners and the second time the sheet fit better.
 
As soon as I was certain the sheet needed no more altering I trimmed each corner;
And serged the raw edges.
Then I cut the remaining hem and serged once again.
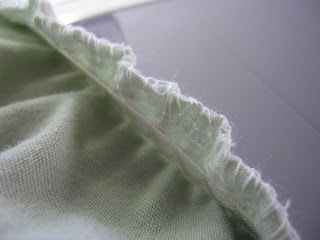
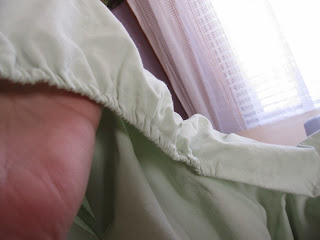
Before adding my elastic to the corners I first measured and marked13-inches from each corner seam on both sides of the seam. This was a total of 26-inches per corner that was to have elastic; which was attached with a zig zag stitch.
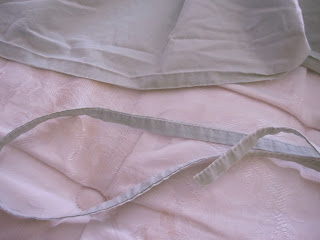
Once the elastic was in place I simply folded the edge and topped stitched all around.
This enclosed the elastic as well as formed a hem along the edge.
My reconstructed sheet fits beautifully!
 Now that I know what I'm doing the next sheet should go much faster.
There's no telling how much money I was able to save by using a sheet we already had. Sure am glad I know how to sew.

Thursday, January 2, 2014

A Small Painting Project

Soon after moving into this house I found a used Baker's Rack on Craig's List. It was homemade and not exactly what I wanted but the price was right so I bought it.
Pat cut some shelves for the rack and instantly transformed the looks.
My intentions were to paint the rack a nice Forest Green; it took a year and a half before I finally got around to painting.
The Baker's Rack now feels like a new piece of furniture.
 I must confess, painting is not a job I enjoy but the results are so worth the work :o)

msn live statistics
Hewlett Packard Laptop